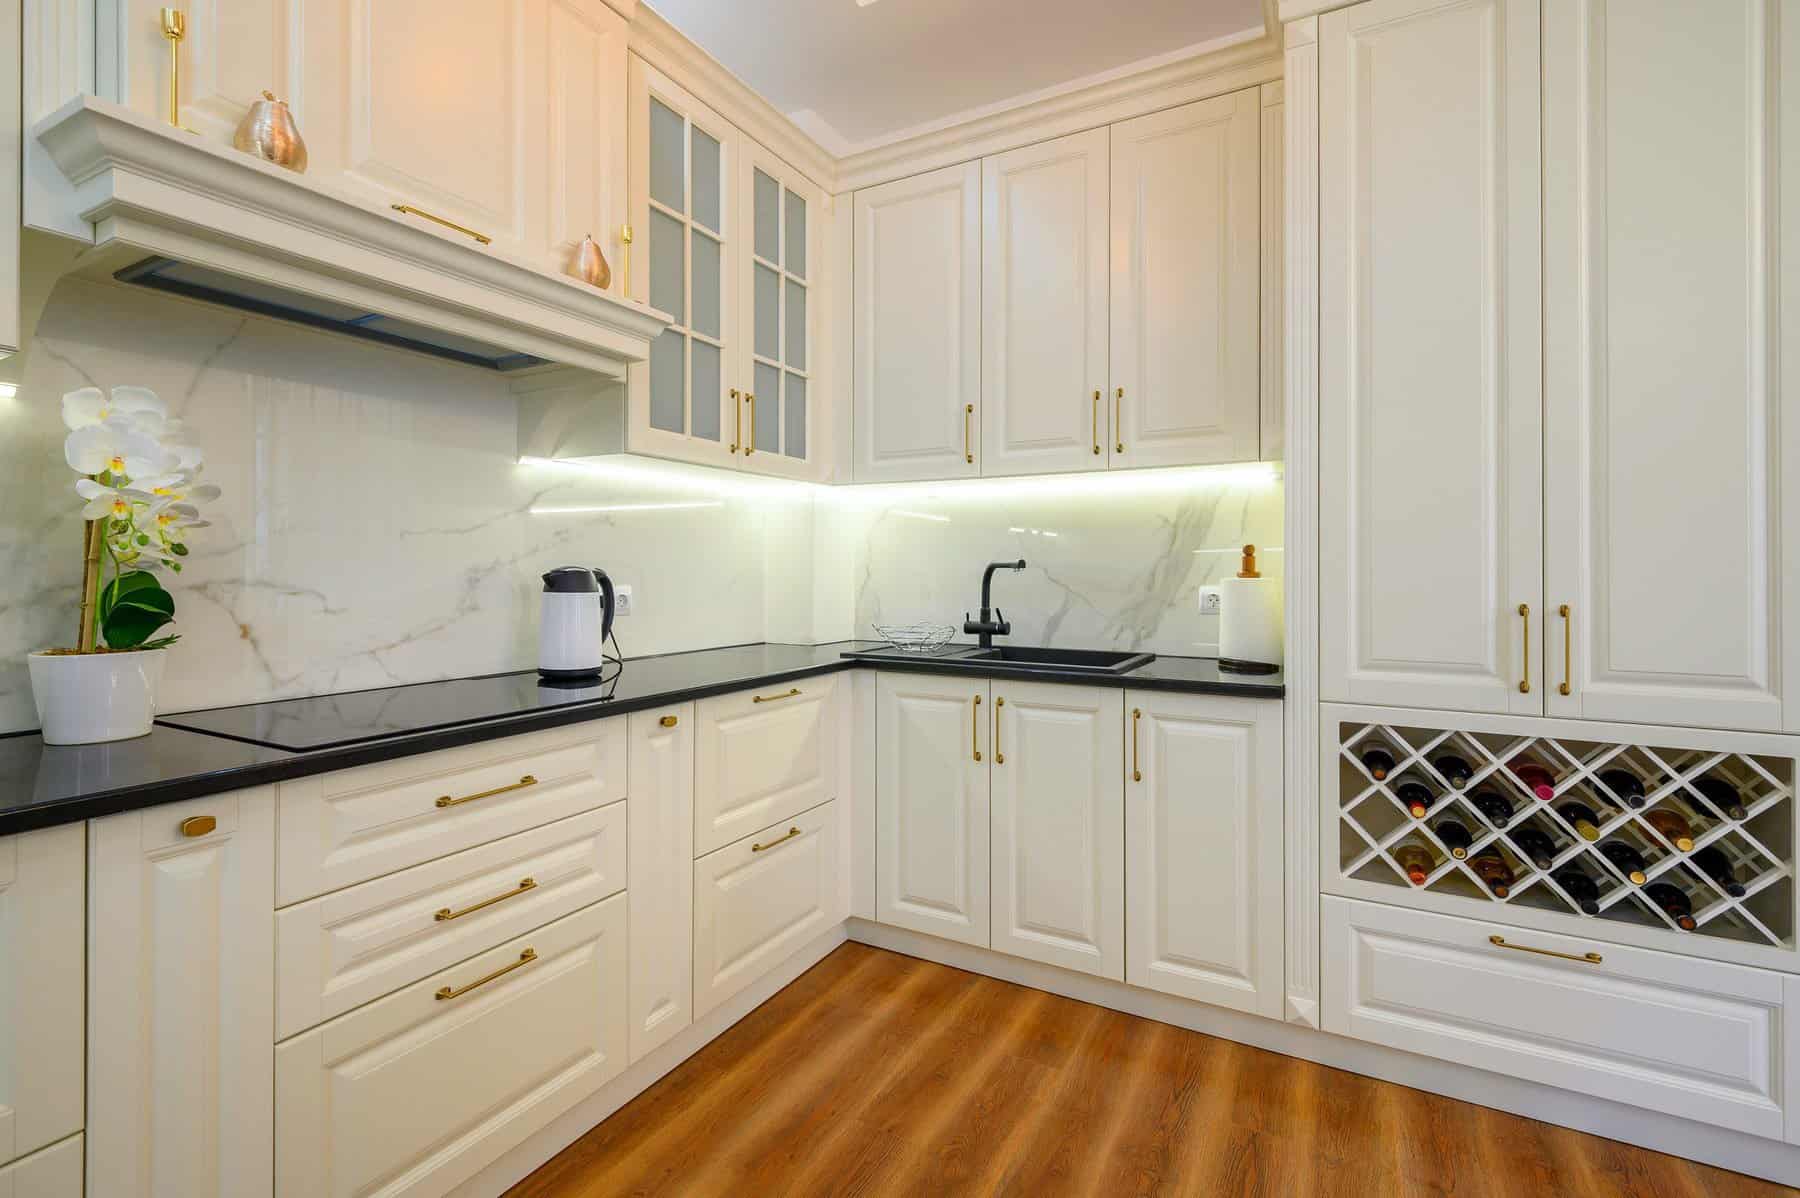
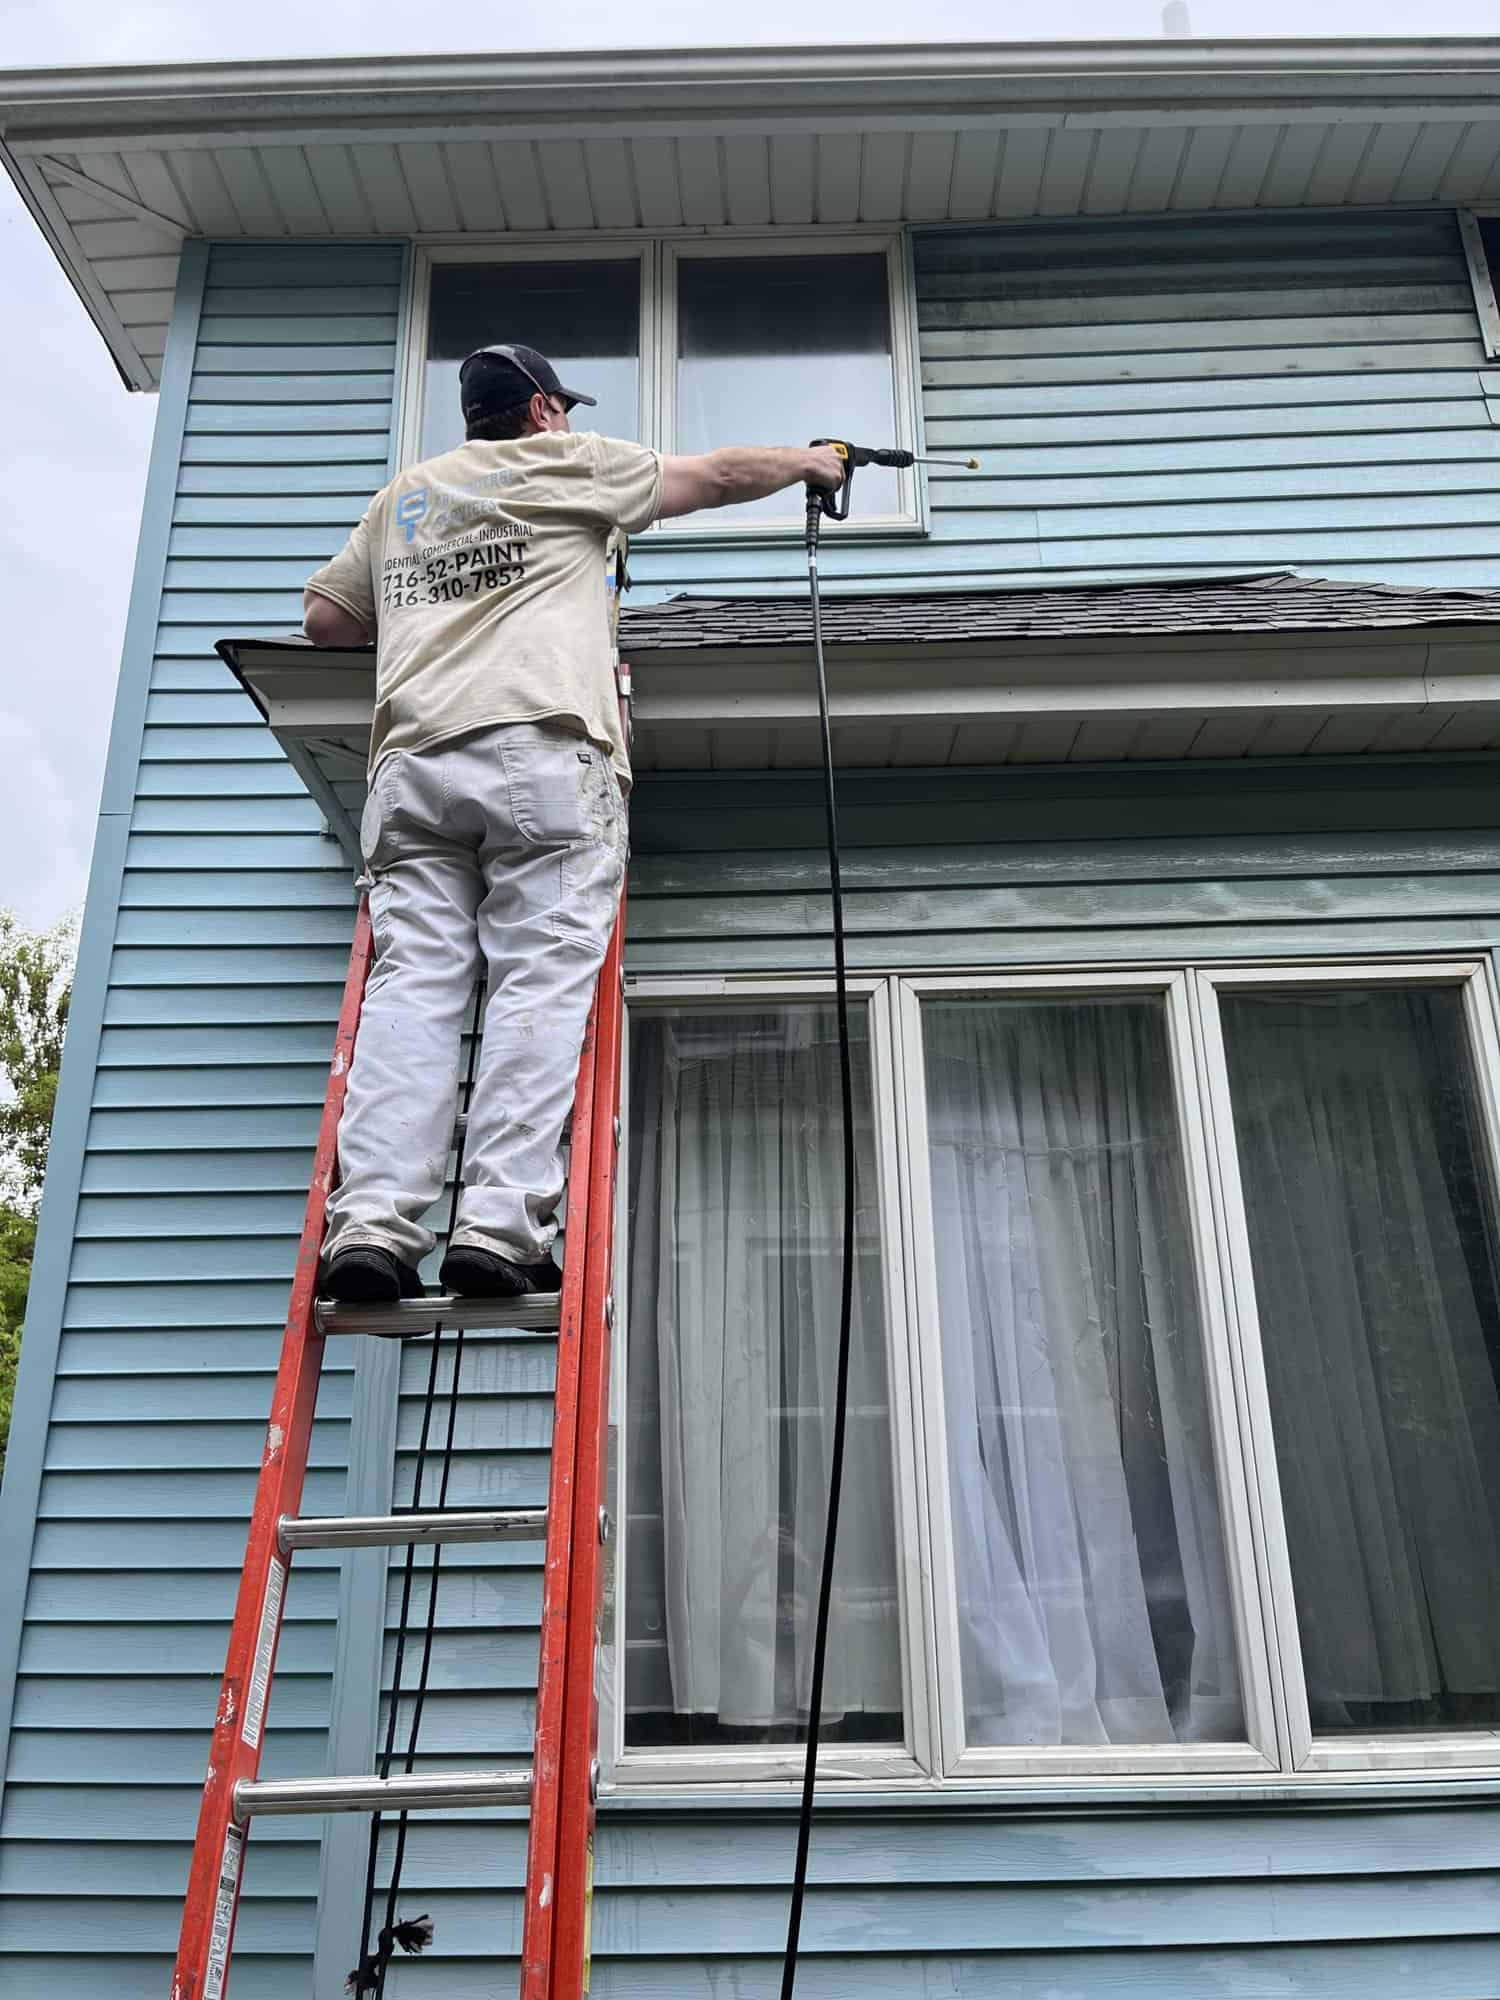
Looking for cabinet painting in Tonawanda, NY? Before diving into a cabinet transformation, it’s essential to follow the right cabinet painting preparation tips for the best results. Whether you’re repainting your kitchen or bathroom cabinets, proper prep ensures long-lasting and professional-quality results. From cleaning and repairing surfaces to gathering the right tools, this guide will walk you through each step to ensure your cabinets look flawless.
Key Takeaways
- Proper preparation guarantees a smooth and professional finish.
- Cleaning thoroughly ensures strong paint adhesion.
- Inspecting cabinets helps avoid imperfections that affect the overall look.
- Ideal temperature and humidity levels improve application and drying times.
- Safety gear is essential for protection against harmful substances.
Why Proper Cabinet Preparation Matters
Preparation is key when it comes to cabinet painting in Tonawanda, NY. If you skip or rush through it, the final result may look less than perfect, and the paint may not last as long as you’d like.
The Role of Preparation in a Perfect Finish
Primer plays a significant role in cabinet painting. It ensures that the paint sticks to the surface and provides a smooth, even base. If you’re using spray paint, good prep can help avoid drips and uneven coverage. Properly prepped cabinets can withstand the heat and moisture common in kitchens and bathrooms.
Common Mistakes to Avoid
One of the biggest mistakes people make during cabinet painting preparation is neglecting to remove dust and grease. These contaminants can interfere with paint adhesion, leading to a patchy, uneven finish. Another issue is failing to pay attention to intricate details like frame and panel cabinets, which need extra care to ensure thorough cleaning and sanding.
How Preparation Prolongs the Life of Your Paint Job
To extend the life of your new paint job, use a tack cloth to remove dust from the surface. Pay close attention to the wood grain and check for mold, as both can affect how well the paint holds up over time. Secure any loose screws to avoid structural issues. Cabinet painter services often emphasize thorough prep work to ensure durability.
Gathering Your Tools and Materials
Before starting your cabinet painting in Tonawanda, NY, you’ll need to gather essential supplies. From cleaning agents to sandpaper and safety gear, having everything on hand will make the process smoother.
Essential Supplies for Cabinet Prep
Here’s a quick list of must-have tools for your project:
- A drill for removing cabinet hardware
- High-quality cleaning agents and degreasers
- Sandpaper to smooth wood surfaces
- Latex paint for a durable finish
Each of these items ensures your cabinets are prepped correctly for painting.
Choosing the Right Cleaning Agents and Degreasers
Using a good degreaser is key to effective cabinet painting preparation. For example, a product with polyurethane can break down grease and grime, ensuring your cabinets are clean enough for paint to stick. Wipe away any residue with a paper towel to ensure proper adhesion.
Selecting Sandpaper for a Smooth Surface
The right sandpaper can make all the difference in achieving a smooth surface. Start with coarse grit to shape the wood and follow with finer grit to eliminate any scratches. Cabinet painters rely on this step to create a flawless surface ready for priming and painting.
Don’t Forget Safety Gear
Safety is crucial. Gloves and masks protect you from cleaning agents and fumes from paint. Make sure your workspace is well-ventilated to avoid inhaling harmful substances.
Cabinet Painting Preparation Tips: Clean and Degrease for Success
Cleaning and degreasing are fundamental steps in any cabinet painting in Tonawanda, NY project. Removing dirt, grease, and residue ensures that the new paint has a fresh surface to adhere to.
How to Remove Grease and Grime Effectively
For best results, use a microfiber cloth soaked in warm water and mild dish soap to wipe down the cabinets. Use a putty knife to remove any stubborn spots of grime. Rinse the cabinets with a clean cloth to remove soap residue.
| Cleaning Method | Description | Best Practice |
|---|---|---|
| Microfiber Cloth | Effective for removing dirt and grease | Use with a soapy water solution |
| Putty Knife | Removes stubborn grime | Use gently to avoid scratching |
| Warm Water Rinse | Clears soap residue | Use a clean cloth for best results |

