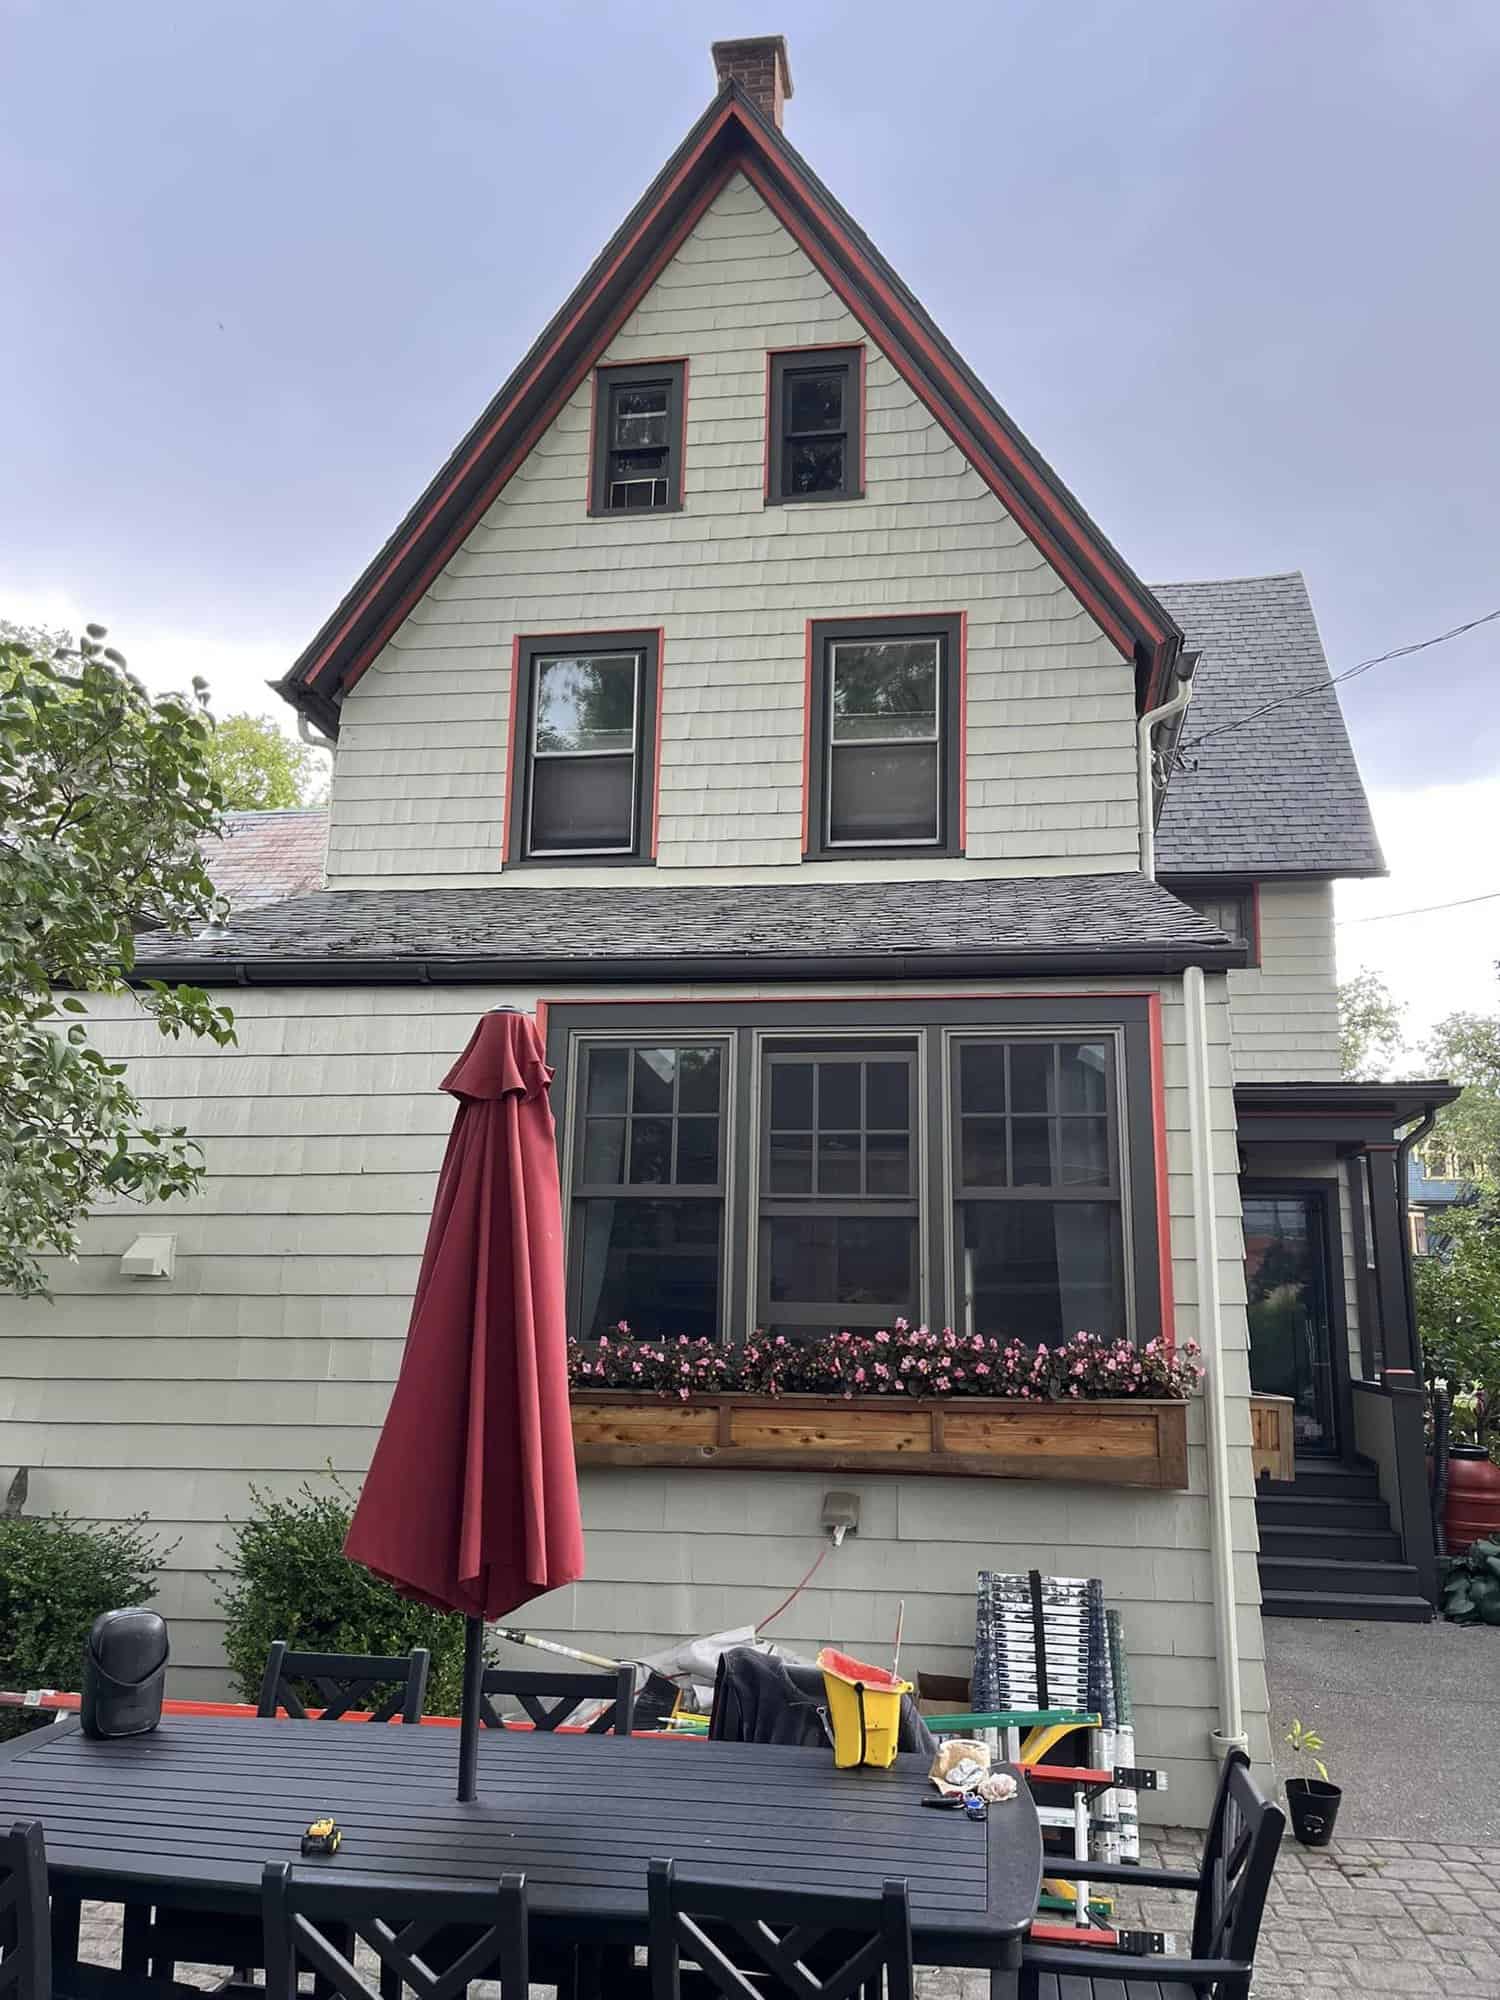
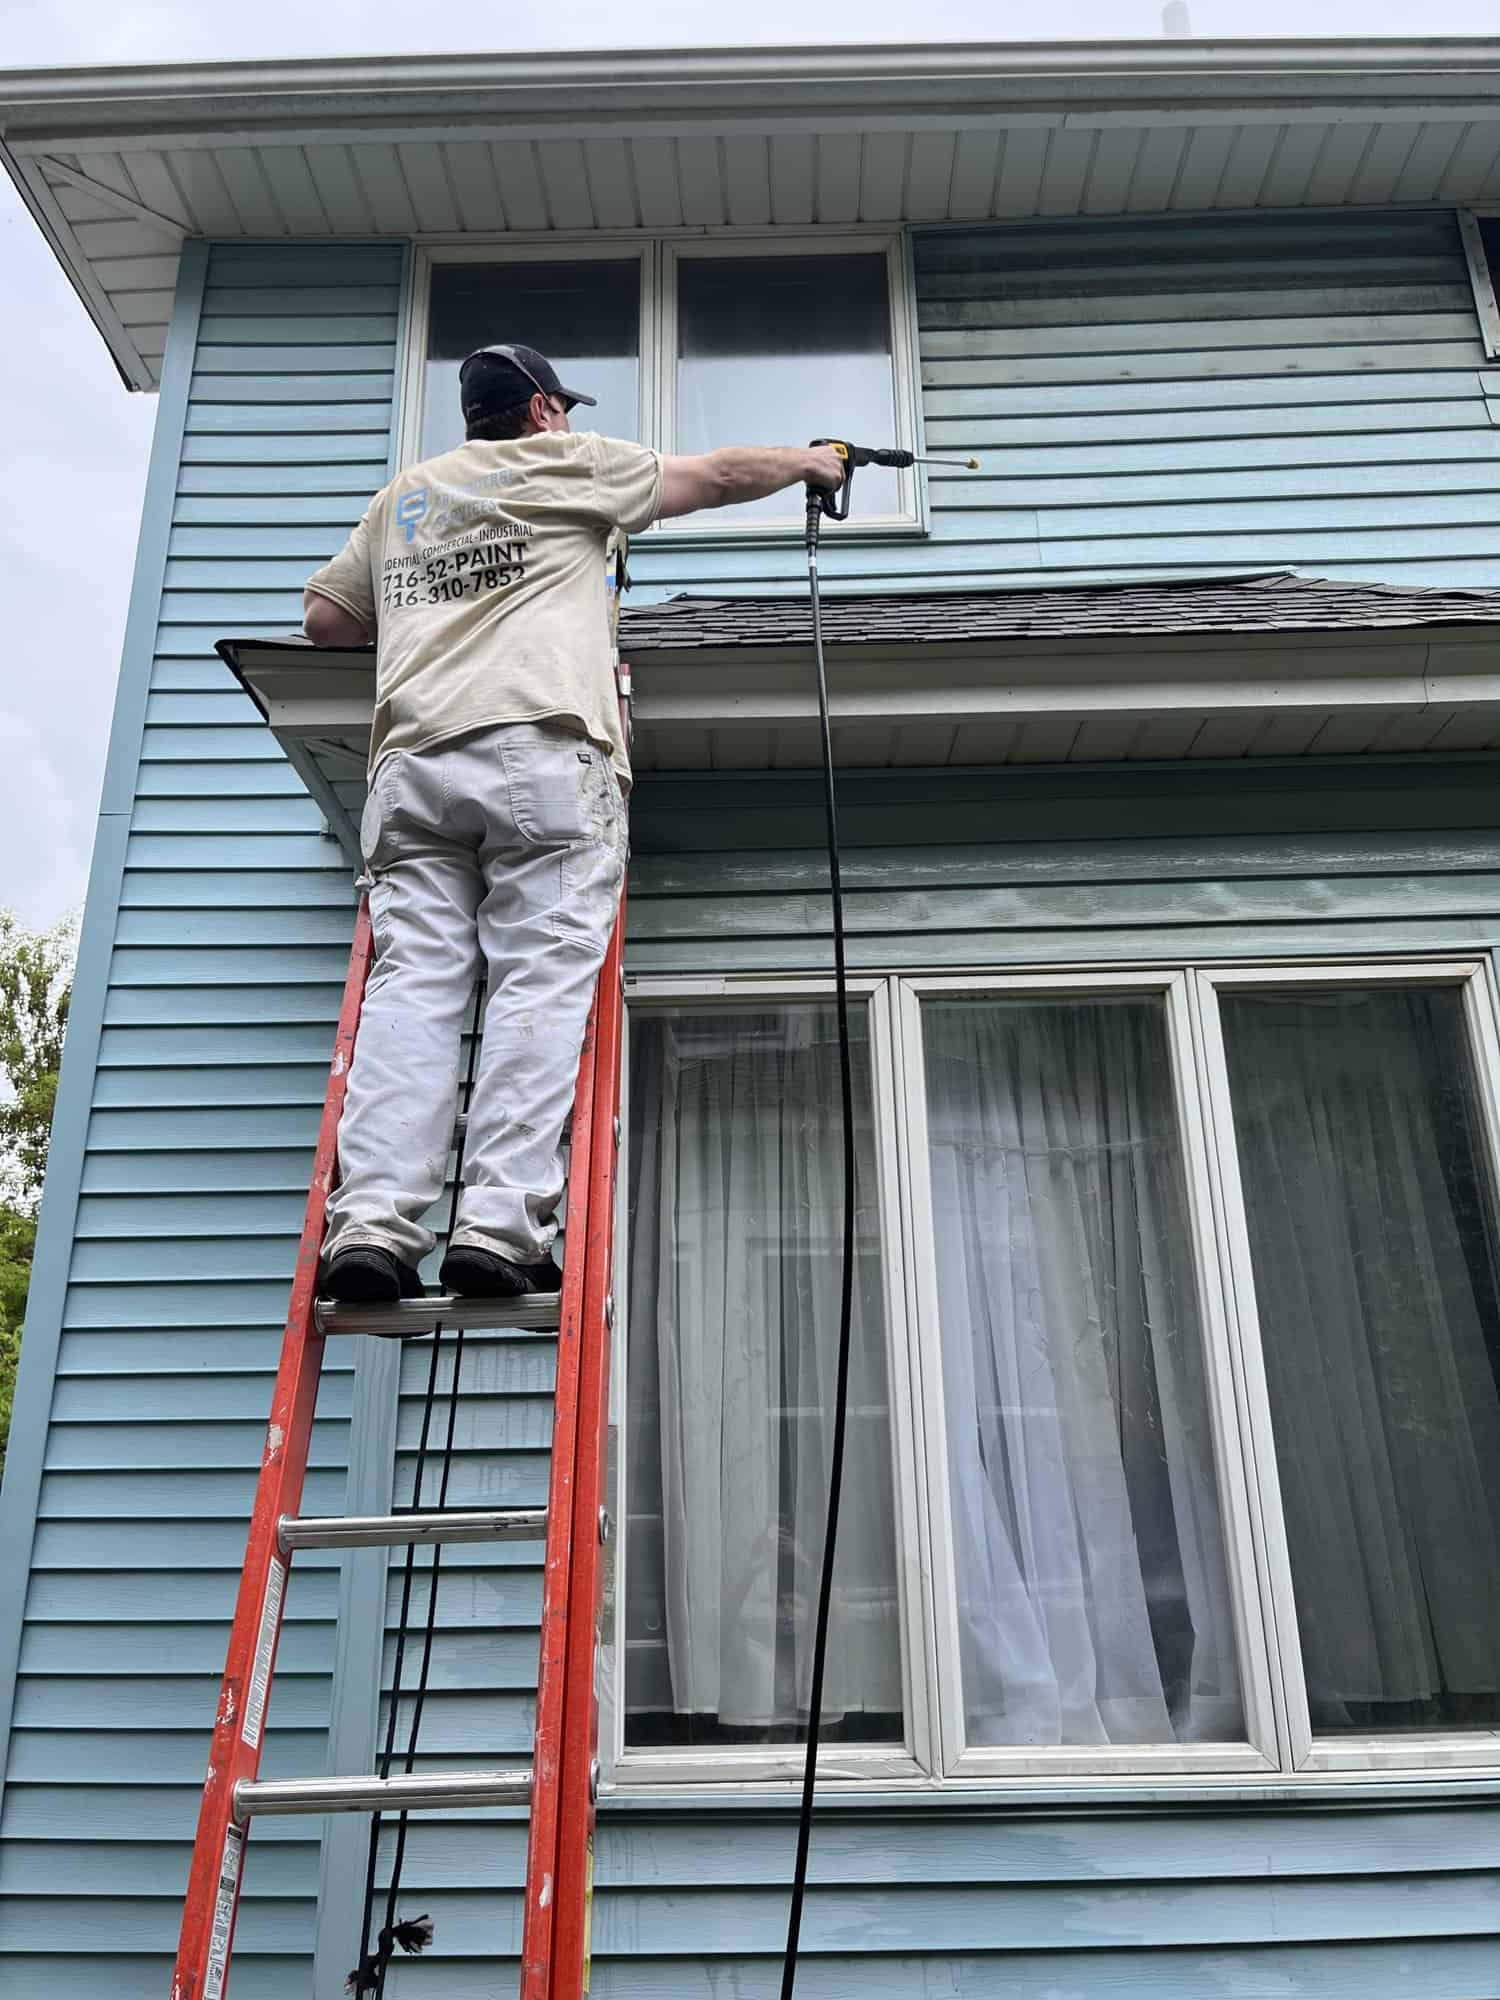
How to paint trim can be a challenge for many homeowners, especially during interior house painting in Clarence, NY. It might seem like a small detail, but painted trim plays a major role in the overall feel of a room. Crisp, clean trim gives your home that polished, finished look — but when it’s chipped, worn, or poorly painted, it can detract from an otherwise beautiful room.
If you’re considering painting trim yourself, or even wondering if it’s worth the investment to hire a professional house painter, let’s dive into the steps and tips you’ll need to know to do it right.
Key Takeaways
Why You Should Pay Attention to Trim
When it comes to interior house painting, painting trim often takes a backseat. Many homeowners focus on the walls, leaving trim neglected or painted in a rush. But trust me, when you paint the trim correctly, it’s like adding the finishing touch to a masterpiece.

Trim gives the room its character — sharp edges along doorways and baseboards define the space and draw attention to architectural features. The trim could be the difference between a room that feels completed and one that feels unfinished.
Selecting the Right Paint and Tools
The first step in learning how to paint trim successfully is choosing the right tools and materials. A good angled brush is essential. An angled sash brush around two inches is ideal for precision. When you apply trim paint, you need smooth, steady strokes. With the right brush, you can avoid any uneven lines or messy edges.
Then, of course, there’s the trim paint itself. I recommend opting for a semi-gloss or satin finish, as these are easier to clean and maintain. They’re also durable enough to handle the wear and tear that trim often faces. Whether you choose white for a classic look or go bold with a darker shade, the paint finish will play a role in both the durability and the aesthetic of the room.
Tools You’ll Need
Materials to Prepare
Pro Tip: A good brush, paired with the right paint, makes all the difference when it comes to painting trim.
The Step-by-Step Process for How to Paint Trim
Now that you have your tools and materials ready, let’s break down the steps.

Pro Tips for Better Results
Before you get started with these quick tips, remember that small adjustments often make the biggest difference. Professional painters often rely on these habits because they save time and lead to a smoother finish.
If you’re wondering how to paint trim without the mess, it’s all about preparation and using the right tools. By following the steps outlined here and using the tips from professionals, you’ll get a finish that not only looks amazing but lasts for years. But, if you’d rather skip the time and effort, calling a professional house painter ensures the job is done right.

Advantage Paint Services: Experts You Can Trust
At Advantage Paint Services, we specialize in interior house painting in Clarence, NY, and the surrounding areas. Whether it’s your trim, walls, or ceilings, our experienced team guarantees a flawless finish every time.
Why choose Advantage Paint Services?
If you’re ready for a trim makeover, call Advantage Paint Services today at 716-477-3966 for a FREE estimate. Our team serves Clarence, Buffalo, and Amherst, NY — we’re just a call away!


